Welcome to the Étoffe Malicieuse online store

How to replace the FOE ?
Hi !
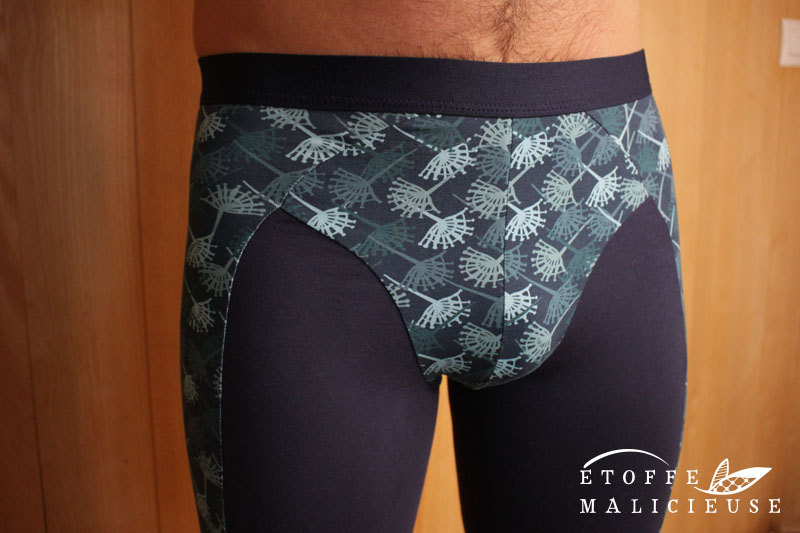
Did you notice that to sew the “log cabin” variant of the latest Plaisir panties pattern, I didn’t use a commercial elastic bias to finish the waist ?
In the instructions of Plaisir, I have detailed everything you need to use a commercially available FOE, whether it is for thighs or waist.
Of course, if you prefer, you can also use a picot elastic for the thighs.
However, for the waist it is complicated to use a picot elastic. Indeed, the extra thicknesses generated by the mesh parts oblige us to put a FOE.

So what do you do when you don’t have the right color FOE ?
How to avoid going to the store just for a small meter of bias ?
And most importantly, how do you get by with what you have on hand ?
Everything is explained in this article !
Explanations
To begin with, it is important to know that in lingerie as in swimwear, the techniques are often the same. For example, today I’m going to explain to you with diagrams the “added” application of rubber elastic. This technique is mostly used to sew swimsuits, but you will see that it is also used in lingerie !
If you follow me on Youtube, you may have already viewed this video : Sewing clear elastic.
This is the same technique !
Are you ready ? Let’s get started !
Stage 1
You need the jersey you sewed your panties with, and some rubber elastic (I use the white or black one, it has more hold than the transparent one).
Cut a piece of rubber elastic to the desired length using the chart giving you the length of the waist elastic (in the explanations provided with the pattern).
Also cut a 4 cm wide jersey band the same length as your rubber elastic.
Overlap the two ends of the rubber elastic by 1 cm to form a ring.
Attach the ends together securely by stitching a satin stitch :

Stage 2
Fold the jersey band in half, right sides together and stitch the two ends together :

Stage 3
Spread the seam allowances by holding them with pins.
Using a zig-zag stitch, sew the rubber elastic to one edge of the wrong side of the stockinette ring :

Stage 4
Divide the ring into four equal parts using pins.
Do the same for the waist :

Stage 5
In the following steps, simply match the pins to sew your elastic evenly around the opening.
Position the seam of the jersey band on the middle back for more discretion :

Stage 6
Pin the jersey band to the right side of the panties, making sure to match the pins. The rubber elastic is positioned on the opening side of the waistband and is facing you.
Sew with a zig-zag stitch on the rubber elastic, over the seam that has already been made.
Remember to stretch the jersey band between the pins so that its length fits the length of the waistline :

Étape 7
Fold the jersey band over to the wrong side: the rubber elastic is trapped between the front and the jersey band. It must remain positioned on the right side of the panty.
Stitch with a zig-zag stitch on the jersey band that remains visible on the right side of the panty.
Trim the excess stockinette along the last stitch.

And there you have it !
You get a panty that has a nice waistline that matches the main fabric !

If all this is not clear to you, a video is available on the Etoffe Malicieuse Youtube channel :
Sewing the clear / rubber elastic.
If you have not yet fallen for the Plaisir panties pattern, just click on the button below.
See you soon !
Don’t forget to use the hashtags #PatronPlaisir, #PatronEtoffeMalicieuse on Instagram so I can discover your creations.
As a reminder, every month I choose one of your photos shared on Instagram with the #EtoffeMalicieuse and I offer a free pattern to the lucky winner. 😉
A beautiful day !
Don’t miss a thing !
To keep up to date with new articles :
Boost your creativity, receive tips & tutorials…
Remember to confirm your subscription by activating the link in the 1st e-mail you receive
(otherwise the mailings will not be activated).
If you don’t receive anything, take a look at your SPAMS.